

One of the advantages of having your own domain for your blog is that you can set up a custom email address with your domain name. So if your domain name is “PatsBlog.com”, you can create an address like pat@patsblog.com or info@patsblog.com. This is a professional email address that is great for all bloggers, but especially for those looking for a business email address to give out to clients.
If you used the process I mentioned Step 2 you can create personalized email addresses at no extra cost to set up your blog. How to do it:
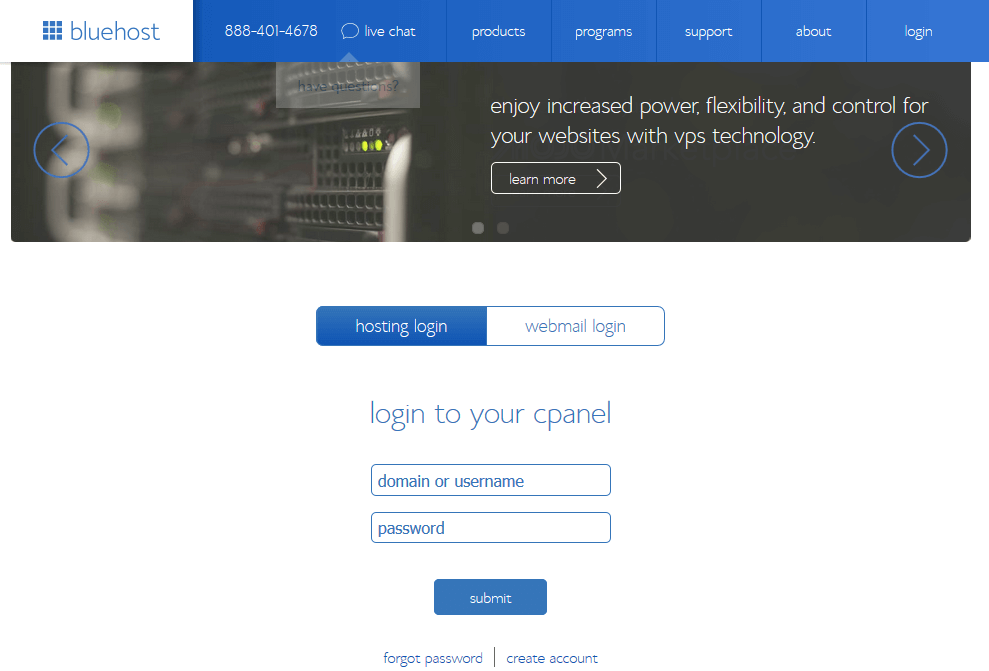
1. go BlueHost home page and click the “Login” tab at the top right.
2. Enter your credentials to login to BlueHost cPanel.
- Remember that your password for your BlueHost account may be different from your WordPress blog.
- If you don’t remember your password, you can always use the “forgot password” link on this page to reset it.
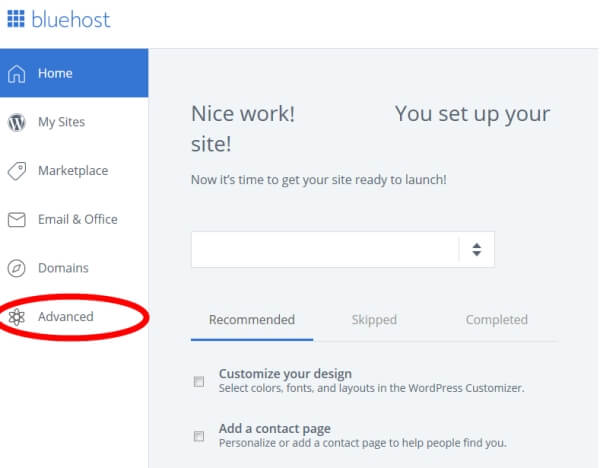
3. Once logged in, click the Advanced tab on the left sidebar.
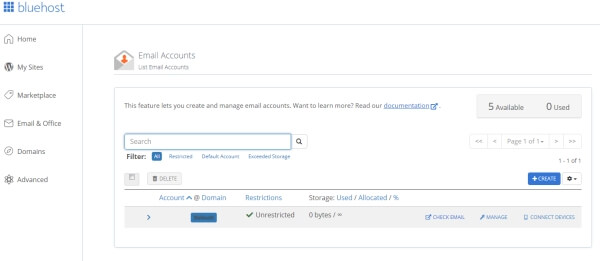
4. Scroll down and click on “Email Accounts”.

5. Click the blue “+CREATE” button on the right.
6. Enter your new email account details and click the “+CREATE” button at the bottom of the page.
- 100MB of storage space is enough to start with and will last you a while unless you receive a lot of emails with large attachments.

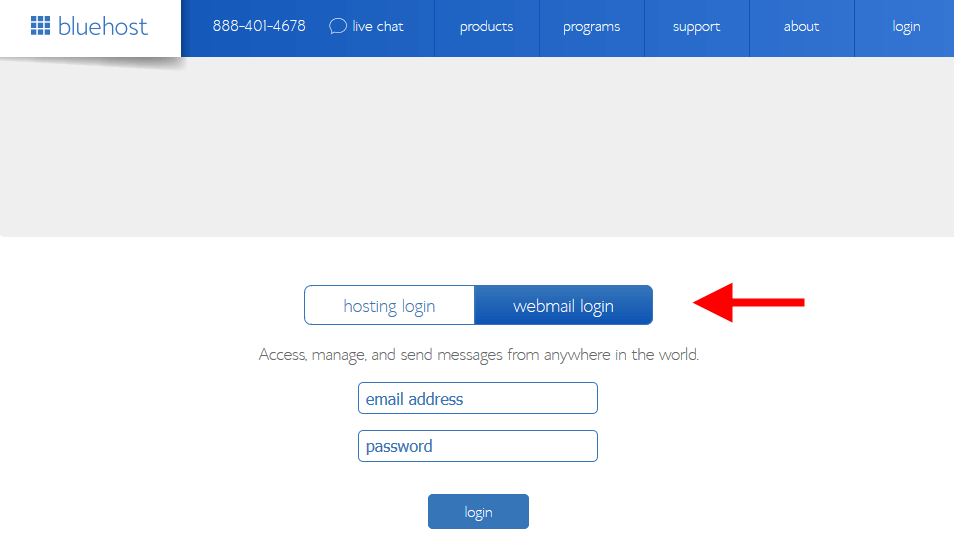
7. Now your account is created, you can login to start using it.
- The easiest way to do this is to go back to the BlueHost home page. Just click on the login tab at the top right and then select the “webmail login” option.
If you’re feeling more technically adventurous, you can also check out the “forwarding” and “autoresponders” sections in the BlueHost email manager. These are very useful tools that I will review in a future blog post.